Set Up a Domain, Host, and Email Quickly
Published: 2009-11-16
I've had a few people ask me to do this in the last couple days so I thought I would do a write up to help save some time.
First thing to do is to head over to godaddy and register a domain name.
It is really important that you keep track of your account login information. This really applies to all of the login info you're about to get.

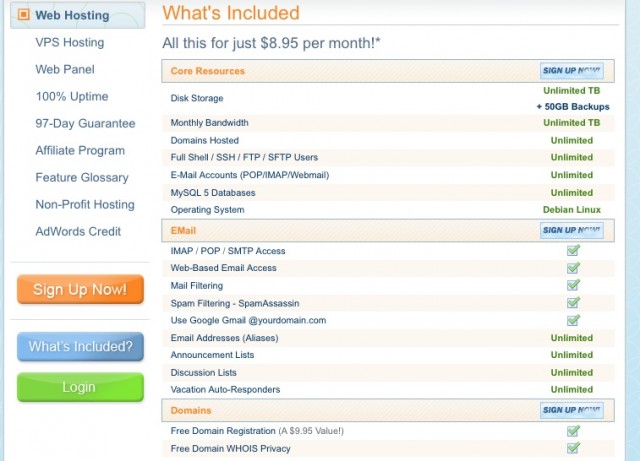
So after you have registered your domain name it is time to get a host. I use DreamHost and they are about as good and cheap as you're going to find. The key with this is, you only have to buy one hosting plan, you can then run as many domains off it as you want. So sign up for a DreamHost account and get it all setup by following their instructions.

On the left side of your screen will be a "Domains" button. Click it and then "add a domain". Enter in the domain you just registered with godaddy. Scroll down and make sure you check, "Host email with google". This will allow you to have gmail run your email. Much better than other options.
Once the hosting is set up you will need to go back to godaddy. Go Domains -> My Domains -> Click on domain name -> On this page down towards the lower left is a "Nameservers" setting. Click manage and choose "I host my domains with another provider". Delete the existing names and enter in ns1.dreamhost.com ns2.dreamhost.com ns3.dreamhost.com in the first three blanks.
Click update and go back to DreamHost. Your site should now be live and be hosted on DreamHost. You can check by going to your domain in a browser. If you get a page that says "Index of" and has two files listed then you are all good to go.
Now check the email account you used to setup the DreamHost. They should send you an email containing the ftp login information. Ftp into your account using your ftp program of choice. I use cyberduck, you can download it here.

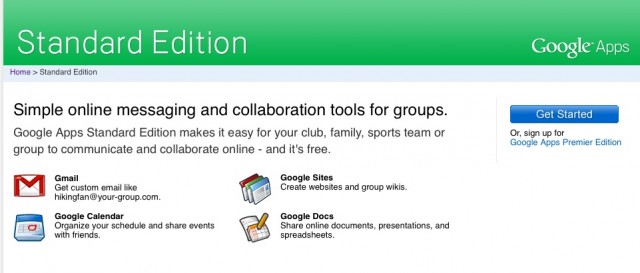
If you can login to your account through ftp go over to google.com/a and sign up for a standard account. Enter in your information and when they ask how you would like to confirm owner ship choose upload an html file. Copy the text they give you and save it as the file name they specify. Take this file and upload it to your server through the ftp program.
Check to see if you can view the file on your site and then click through to continue the google apps setup. Once you have reached the dashboard click activate email. You will now be able to setup as many email accounts you want. (up to 50) This will allow you to have [email protected] To enable imap support click on your inbox, click on settings, imap/pop3 forwarding -> scroll down and click enable imap.

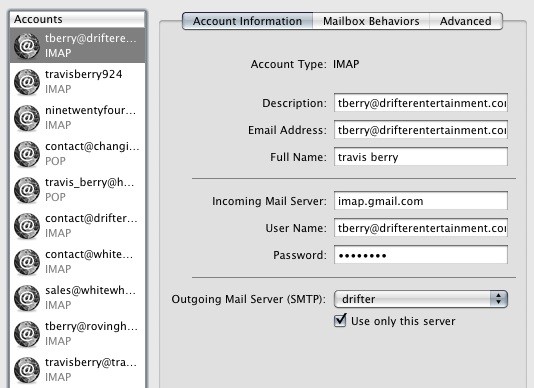
If you use mail in OSx you can add the account by clicking add account -> enter in your name and new email address -> enter imap.gmail.com as your incoming server -> use authentication with your full email address as your name and the password for the account -> enter smtp.gmail.com as the outgoing server again using authentication. Take account live and you should be all setup.
You now have a website, hosting, and email. You can continue on and add some html files to your server to setup a website, or install a blogging platform.Any tips to speed this process up? Let me know in the comments.
